So I’ve resisted the idea of Linux image backups for a while. After all, one can just backup all the files, right? True, even with Linuxs fast file access this might take a bit longer than doing an image backup if one has a a lot of files and one wants to back them all up…
Image backups also make backups and restores a lot easier. One doesn’t have to think about what to backup, instead it’s just the whole thing. When restoring, it’s just one step: Copy back the volume.
Advantages:
- Everything is backed up
- Content does not affect backup or restore performance (e.g. many small files don’t slow down backups and restores)
- 1:1 backups and restores of volumes
Disadvantages:
- Can’t select subset to backup (e.g. exclude temporary file data)
- Can’t migrate to different file system on restore
- File level deduplication doesn’t work
- E.g. defragmentation causes changes to backup
The following are step-by-step instructions on how to backup a Linux VPS.
Backup VPS (Step-by-step)
Assumption: VPS is running Debian 10/buster. 2.5.x server + client is used.
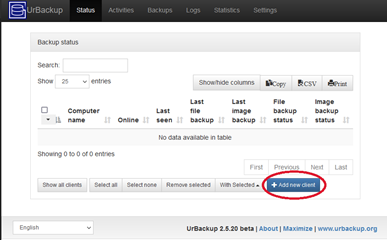
1. Add new client on server web interface:
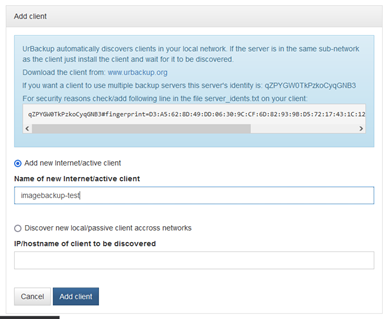
2. Add active/Internet client
3. Copy & paste Linux client installation command and follow setup:
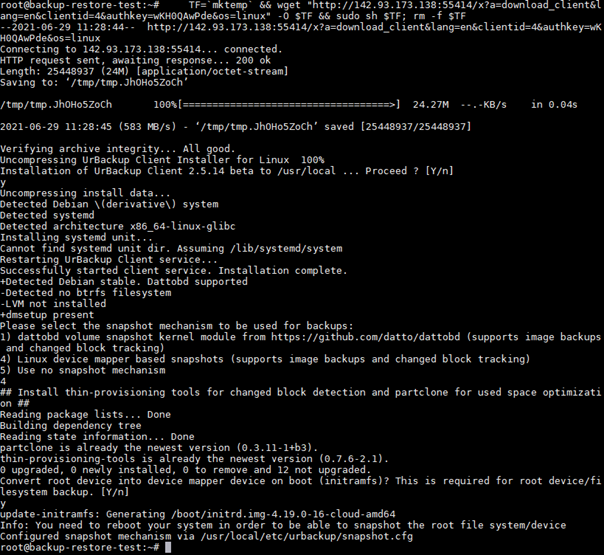
4. Reboot client/VPS (if not using dattobd)
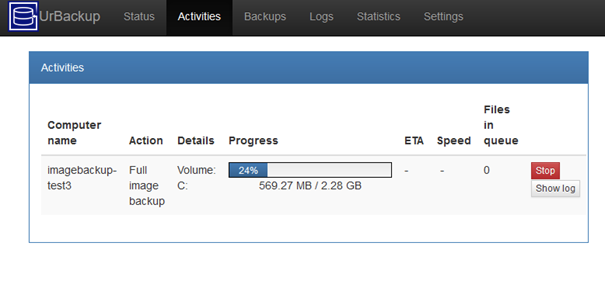
5. Create image backup (“C” gets automatically translated to the Linux root volume)
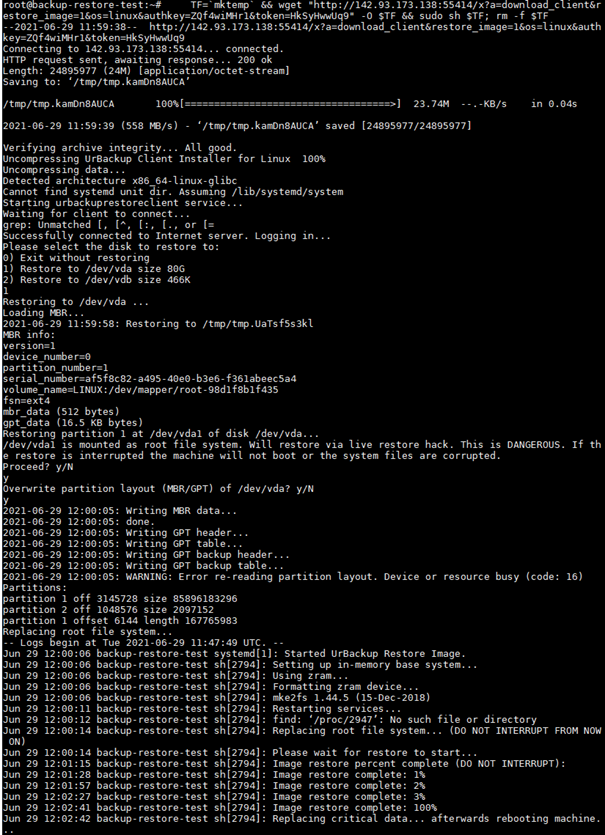
Restore VPS (Step-by-step)
1. Browse to image backup in “Backups” tab on web interface
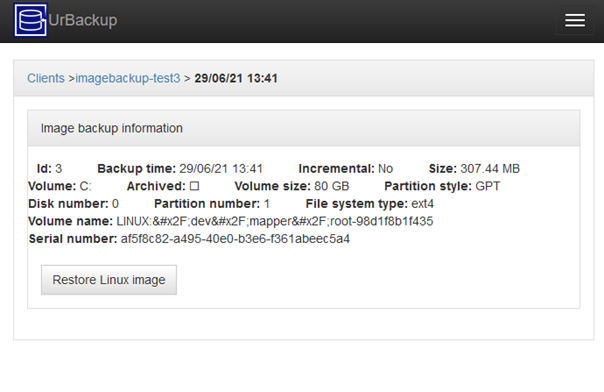
2. Click on restore Linux image
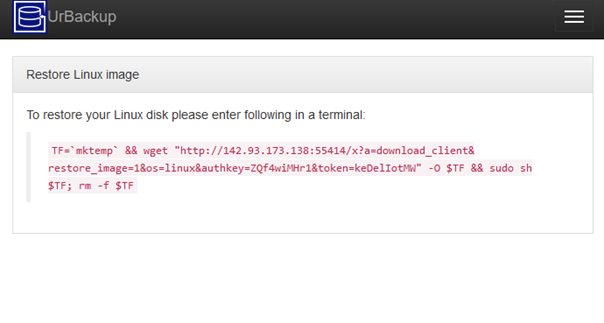
3. Copy & paste into new Debian 10/buster instance and follow instructions: